
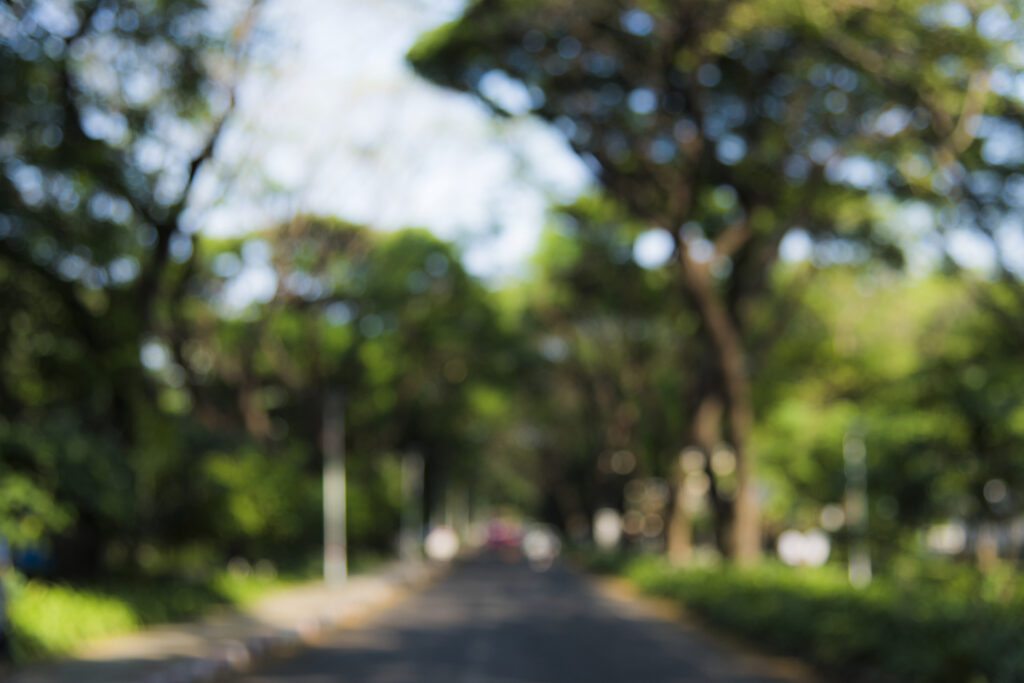
If you’ve ever snapped what should’ve been the perfect shot—only to zoom in and find a sad, blurry mess—this post is for you. The truth is, most of us blame our cameras, our lenses, or even the lighting when the real culprit is… our hands. Yes, shaky hands are stealthy photo-ruiners.
But don’t worry. Whether you’re shooting weddings, portraits, or travel snaps, here’s how to hold your camera like a pro and finally say goodbye to motion blur.
1. Get a Grip – Literally
Holding your camera properly is photography 101, but you’d be shocked how many people mess this up. Place your right hand on the grip (obviously), but here’s the key: your left hand should support the lens from underneath, not the side. This gives you far more stability, especially with heavier gear.
Bonus tip for wedding and portrait shooters: A solid two-handed grip can save you in ‘fast-paced moments—like when the bride suddenly laughs or the baby finally looks at the camera.
Pro tip: I’ve shot over 800 weddings and too-many-to-count family portraits in my career. I used the Stroboframe Pro-RL Bracket Professional 310-700 swivel camera grip made in USA as my go to grip. No longer made, but you can find them on the used market. Well worth the hunt and the money. Keeps the flash over the lens and not to the side and has excellent balance using the front grip piece as additional stability.
2. Hug Your Camera (Kind Of)
The closer the camera is to your body, the steadier it’ll be. Bring those elbows in, like you’re gently squeezing a beach ball. This creates a natural stabilizer using your own frame.
Pro tip: When shooting vertical (portrait orientation), it’s even more important. Keep those elbows tucked rather than flaring them out like a chicken. It feels awkward at first—but your photos will thank you.
3. Lean On Me (Or a Wall. Or a Tree. Or Anything.)
If you’ve got a surface nearby, use it. Lean your body or your elbows against a wall, railing, car, or even your knees if you’re crouching. It’s one of the oldest and most underrated tricks to fake rock-steady hands.
4. Exercise Your Arms and Hands
You don’t need to dead lift your camera bag, but a little strength helps. Try resistance bands or light dumbbells focused on your arms, wrists, and grip strength. Even a few minutes a day can make holding a DSLR for hours way less of a struggle.
5. Use a Tripod (Not Just for Long Exposures)
Tripods aren’t just for nighttime or landscape shots. If you’re doing group portraits, self-portraits, or anything that needs precision, a good tripod is gold.
Great tripods to check out: Manfrotto Befree (light and travel-friendly), Peak Design Travel Tripod (compact and innovative), or the classic Gitzo Mountaineer for serious stability.
Pro Tip: Tripod legs typically use either flip locks (lever locks) or twist locks to secure the extension of each section. Flip locks use a lever to tighten around the leg, while twist locks use a rotational motion to tighten a collar. Both mechanisms effectively lock the leg in place. I like the tripods with the flip locks best. For me they are the easiest to use and seem to be able to keep compression on the legs over long usage as opposed to the twist locks.
6. Keep It Light When You Can
A heavy lens can make a camera front-heavy and harder to balance. If you’re not shooting in low light or needing ultra zoom, opt for a shorter or lighter prime lens like a 50mm f/1.8. Your arms will thank you, especially after hour three of an event.
7. Is There an Ideal Camera-to-Lens Weight Ratio?
Great question—yes, sort of. While there’s no official ratio, pros generally recommend avoiding setups where the lens is significantly heavier than the camera body. A front-heavy rig makes stability trickier and increases fatigue. Try to keep the lens at or under the weight of the body, unless you’re using support like a tripod or monopod.
8. Don’t Be Afraid to Use Burst Mode
Okay, this isn’t technically about holding your camera—but it helps compensate for minor movement. Shooting in burst mode increases your chances of getting a tack-sharp shot, especially if you’re handholding at slower shutter speeds.
9. Breathe (Seriously)
Just like in shooting sports, breathing matters. Take a breath, exhale slowly, and press the shutter gently at the bottom of that breath. It reduces micro-movements and helps you stay relaxed and focused.
Final Thoughts:
Holding your camera steady isn’t rocket science—it’s just a habit. The more intentionally you practice good form, the more natural it becomes. Combine strength, technique, and the right gear, and suddenly you’re not just taking photos—you’re creating sharp, stunning images with confidence.
🔥 Have a trick of your own to get sharper shots? Drop it in the comments—we’re all about sharing the photo love.
Rediscover what matters through nature
Feeling Overwhelmed or craving stillness? At Finding Nature’s Beauty, we create space to breathe, reflect and reconnect –with yourself and the world around you. Reflections, our newsletter, is designed to help you find calmness and clarity from the stress of everyday living by providing weekly inspiration, stories, and actionable ideas to guide you.
